Wednesday, March 8, 2023

My Recent Exploration into Gelli Printing

Back in 2021, I started exploring gel or gelli printing. I had seen many artists online doing this form of printing, and I decided I wanted to try it too. At that time, I spent a week or two printing with plants of all kinds. It was a lot of fun. Ever since, I have wanted to get back to it to learn more about the medium, but I could just never find the time. Until recently. I just gave myself the gift of play and further exploration into this form of printing. 


Gel or gelli printing is a form of mono printing, that uses a flexible gelatin plate to create prints using different textures and layers of color. Paint is rolled on the gelli surface with a brayer, just like you use in linocut printing. Then you place stencils or plants or other textural objects on the gelli plate, and you place your paper on top, and add pressure to the paper with your fingers or a baren. Once you lift off the paper, you have your printed image. 


You can buy or make your own gelatin plate. I have purchase a few sizes of plates from Gel Press that I like. I decided to purchase my plates instead of making them, for now, because they come in this protective plastic packaging, that you can store the plates in. The surface of the gel plate is sticky, and will attract dust and dirt and pet fur and... you name it. Being able to keep the plates surface clean is very important. In the future, I may try to make a plate, just for the heck of it. It seems like a fairly easy, and economical process. 

Gel printing is fairly easy to do. Figuring out what materials work best for a finished print is a bit of a challenge. That takes trial, effort and experimenting. I find that rice paper works well for printing with stencils. It may also work well with botanicals, I just haven't tried that yet. Other paper recommendations are 80 lb. papers, copy paper, economical packs of cardstock and drawing paper. You want a smooth surfaced paper to give you a more solid print.


I used acrylic paints for my prints. There are many brands available. I like the Liquitex and Artist's Loft brands, in tubes. I also tried liquid versions of acrylic paint in squeeze bottles. For me, the paint just was too thin. The tube paint is thicker and more pigmented, which I prefer. 


My goal in this exploration was to create beautiful papers to be used in the collage art I like to make. I mostly used stencils, because there was not a good choice of plants available in the beginning of March. My plan is to do more botanical printing in the summer.  I can tell you, I'm still learning. 

Placing a stencil on the inked plate.

Lifting a print.

Finished prints using stencils.

Finished prints using plants.

I do have some RESOURCES for you if you are into exploring gel printing too. 

Printers to check out online for botanical printing.  These are people I like.  Most of them are on Instagram, Facebook, and have websites.  The first two artists also have online courses available. 
One printer I know of that prints well with stencils is Elizabeth St. Hilarie of Paper Paintings Collage.  She has written three books on gel printing. She has online workshops available on her website, and you can see her print on You Tube.

Gel Press gel plates are available on Amazon, Blick, and MANY other online art stores, if they are not available locally where you live.

You can find MANY videos on how to make a gel plate on You Tube.

Thursday, February 23, 2023

Self Care - Taking a Retreat Day at Home

Today, quite spontaneously, I decided to take a retreat day at home.  Actually, right in my bedroom.  It is snowing outside, a rare occurrence here on the coast of northern CA.  I am enjoying the beauty I see from my bedroom windows, while being warm and cozy indoors.  And all three of my furry family members have joined me.  Do you see my ginger boy Hobbs in photo?  So far, this retreat is going very well.  

Every good retreat needs to start with a great cup of coffee.  I make a blend of five different flavors of decaf, and some stevia.  And it needs to be in one of my favorite coffee cups.  This is a recent find.  I collect rainbow mugs.  They remind me of my cat Tiger.  


So my plan for today is to get inspired.  To fill up my creative well.  I brought my computer and a notebook, and a collection of art books to read, up to my "bedroom sanctuary." And I have a number of ideas for writing on my blog.  I LOVE to write and just never give myself the time.  Maybe I can change that this year.


My book collection of inspiration for today has a book on block printing, some books on collage, my other love, some art business books, and The Artist's Way. I don't think I will read them all, but bits and pieces of them.  And I'll share the wisdom of what I find in other posts for you.  

So far today is a perfect day.  

Self care is sooo important for artists.  If we don't feed our creative wells, we have nothing to draw from for our creativity.  That's when we experience creative block. I would highly recommend taking a creative home retreat as a way to inspire yourself, and move through creative block, if you are experiencing that.  Or even if you are not.  It's an enriching way to spend a day.    


Tuesday, February 14, 2023

So You Want to Learn Linocut Printing - Recommended Books and Online Resources

 I LOVE art books.  They are my favorite books to collect.  Books are such a wonderful hands on resource.  I know you can look up how to do almost anything online these days, but I still like reading a good book and looking at the pictures.  

I have three good linocut books I would recommend if you are a book lover like me.  

The first just came out in January of 2023.  It's called "Linocut - A Creative Guide to Making Beautiful Prints," by Sam Marshall.  Sam goes over all the tools and materials you will need to create a print, and she has exercises that take you through, step by step, to try different techniques of linocut printing.  There are also five artist interviews of other printmakers and their work.  I highly recommend this book if you are a beginner, or are interested in learning a specific technique that you may not have tried so far.  

You can find Sam on Instagram @sammarshallart.


The other two books I own and would recommend are "Linocut for Artists and Designers" by Nick Morley and Block Print magic by Emily Louise Howard.  They each have their own take on recommended  tools and materials, with projects and sharing of other printmakers work.  

You can find Nick Morley on Instagram @linocutboy, and Emily Howard @thediggingestgirl.

-----------------------------------------------------------------------------------------------------------

If you would rather watch videos on linocut printmaking, check out the following artists on You Tube.  These are artists I would recommend:

  • Maarit Hanninen
  • Laura Boswell
  • Honey Thief Prints
  • E Hollingshead Art
  • Colin Blanchard
  • Daniel Villa Art
Of course, there are many printmakers on Instagram and you can learn so much from following as many as you like, reading their posts and watching their videos.  You can learn sooooo many tips and tricks just doing that.  And many print artists are very generous in answering specific questions if you have some. Please just thank them for their time and generosity in sharing the wisdom they have acquired from lots of trial and error.  

----------------------------------------------------------------------------------------------------------

ONE FINAL AWESOME RESOURCE

This is an addition to my original post.  I had to include it because it truly is so awesome.  If you are on Facebook, you need to join the Facebook group LINOCUT FRIENDS.  It would be worth it to join Facebook just to join this group.  The group is an amazing resource for all linocut printmakers.  Artists share their work, both beginners and more seasoned printmakers, which is wonderful to see.  But you can also get tips and help with questions you have about the process or materials.  I really cannot recommend this group enough.  There are other linocut printmaking groups on facebook that you can join, but this one is truly the best.  

So You Want to Learn Linocut Printing - Here's How I Started

I started linocut printing just over five years ago.  Actually, I had tried it first in a high school art class, and had decided at that time, that I did not like the medium.  I tried it again in my early twenties, and once again, decided it was not for me.  

Five to six years ago I started my first Instagram account for an online gemstone business I had.  I really liked Instagram at that time.  It was all beautiful photos.  Because I am an artist and an art lover, I followed art from artists all around the world.  The art I was most drawn to at the time was linocut printing, and I felt inspired to try again. This time, I stayed with it.

My first linocut

When I started, I didn't want to buy expensive material and tools,  just in case I was not going to stick with it again.  I also didn't want to use oil based ink because I did not want to use toxic solvents for clean up.   

-----------------------------------------------------------------------------------

The tools I started with and would recommend if you just want to try to see if you like the linocut printing are as follows:

1. Speedball has a beginning carving set called the Linoleum Cutter Assortment Kit #1.  It comes with one handle and five changeable gouges or blades.  

2. In order to keep the blades sharp so you do not get frustrated I'd recommend purchasing a Slip Strop by Flexcut.  It is very easy to use.  Just look up a video online.  Dull blades make it difficult to get a smooth carve, and can leave a rough edge to your carve.

The slip strope and carving gouges

3. I started with pink Speedy Carve blocks from Speedball.  They are a soft block material, made of a rubbery substance.  There are other soft blocks available that you may want to try.  This was just readily available to me.

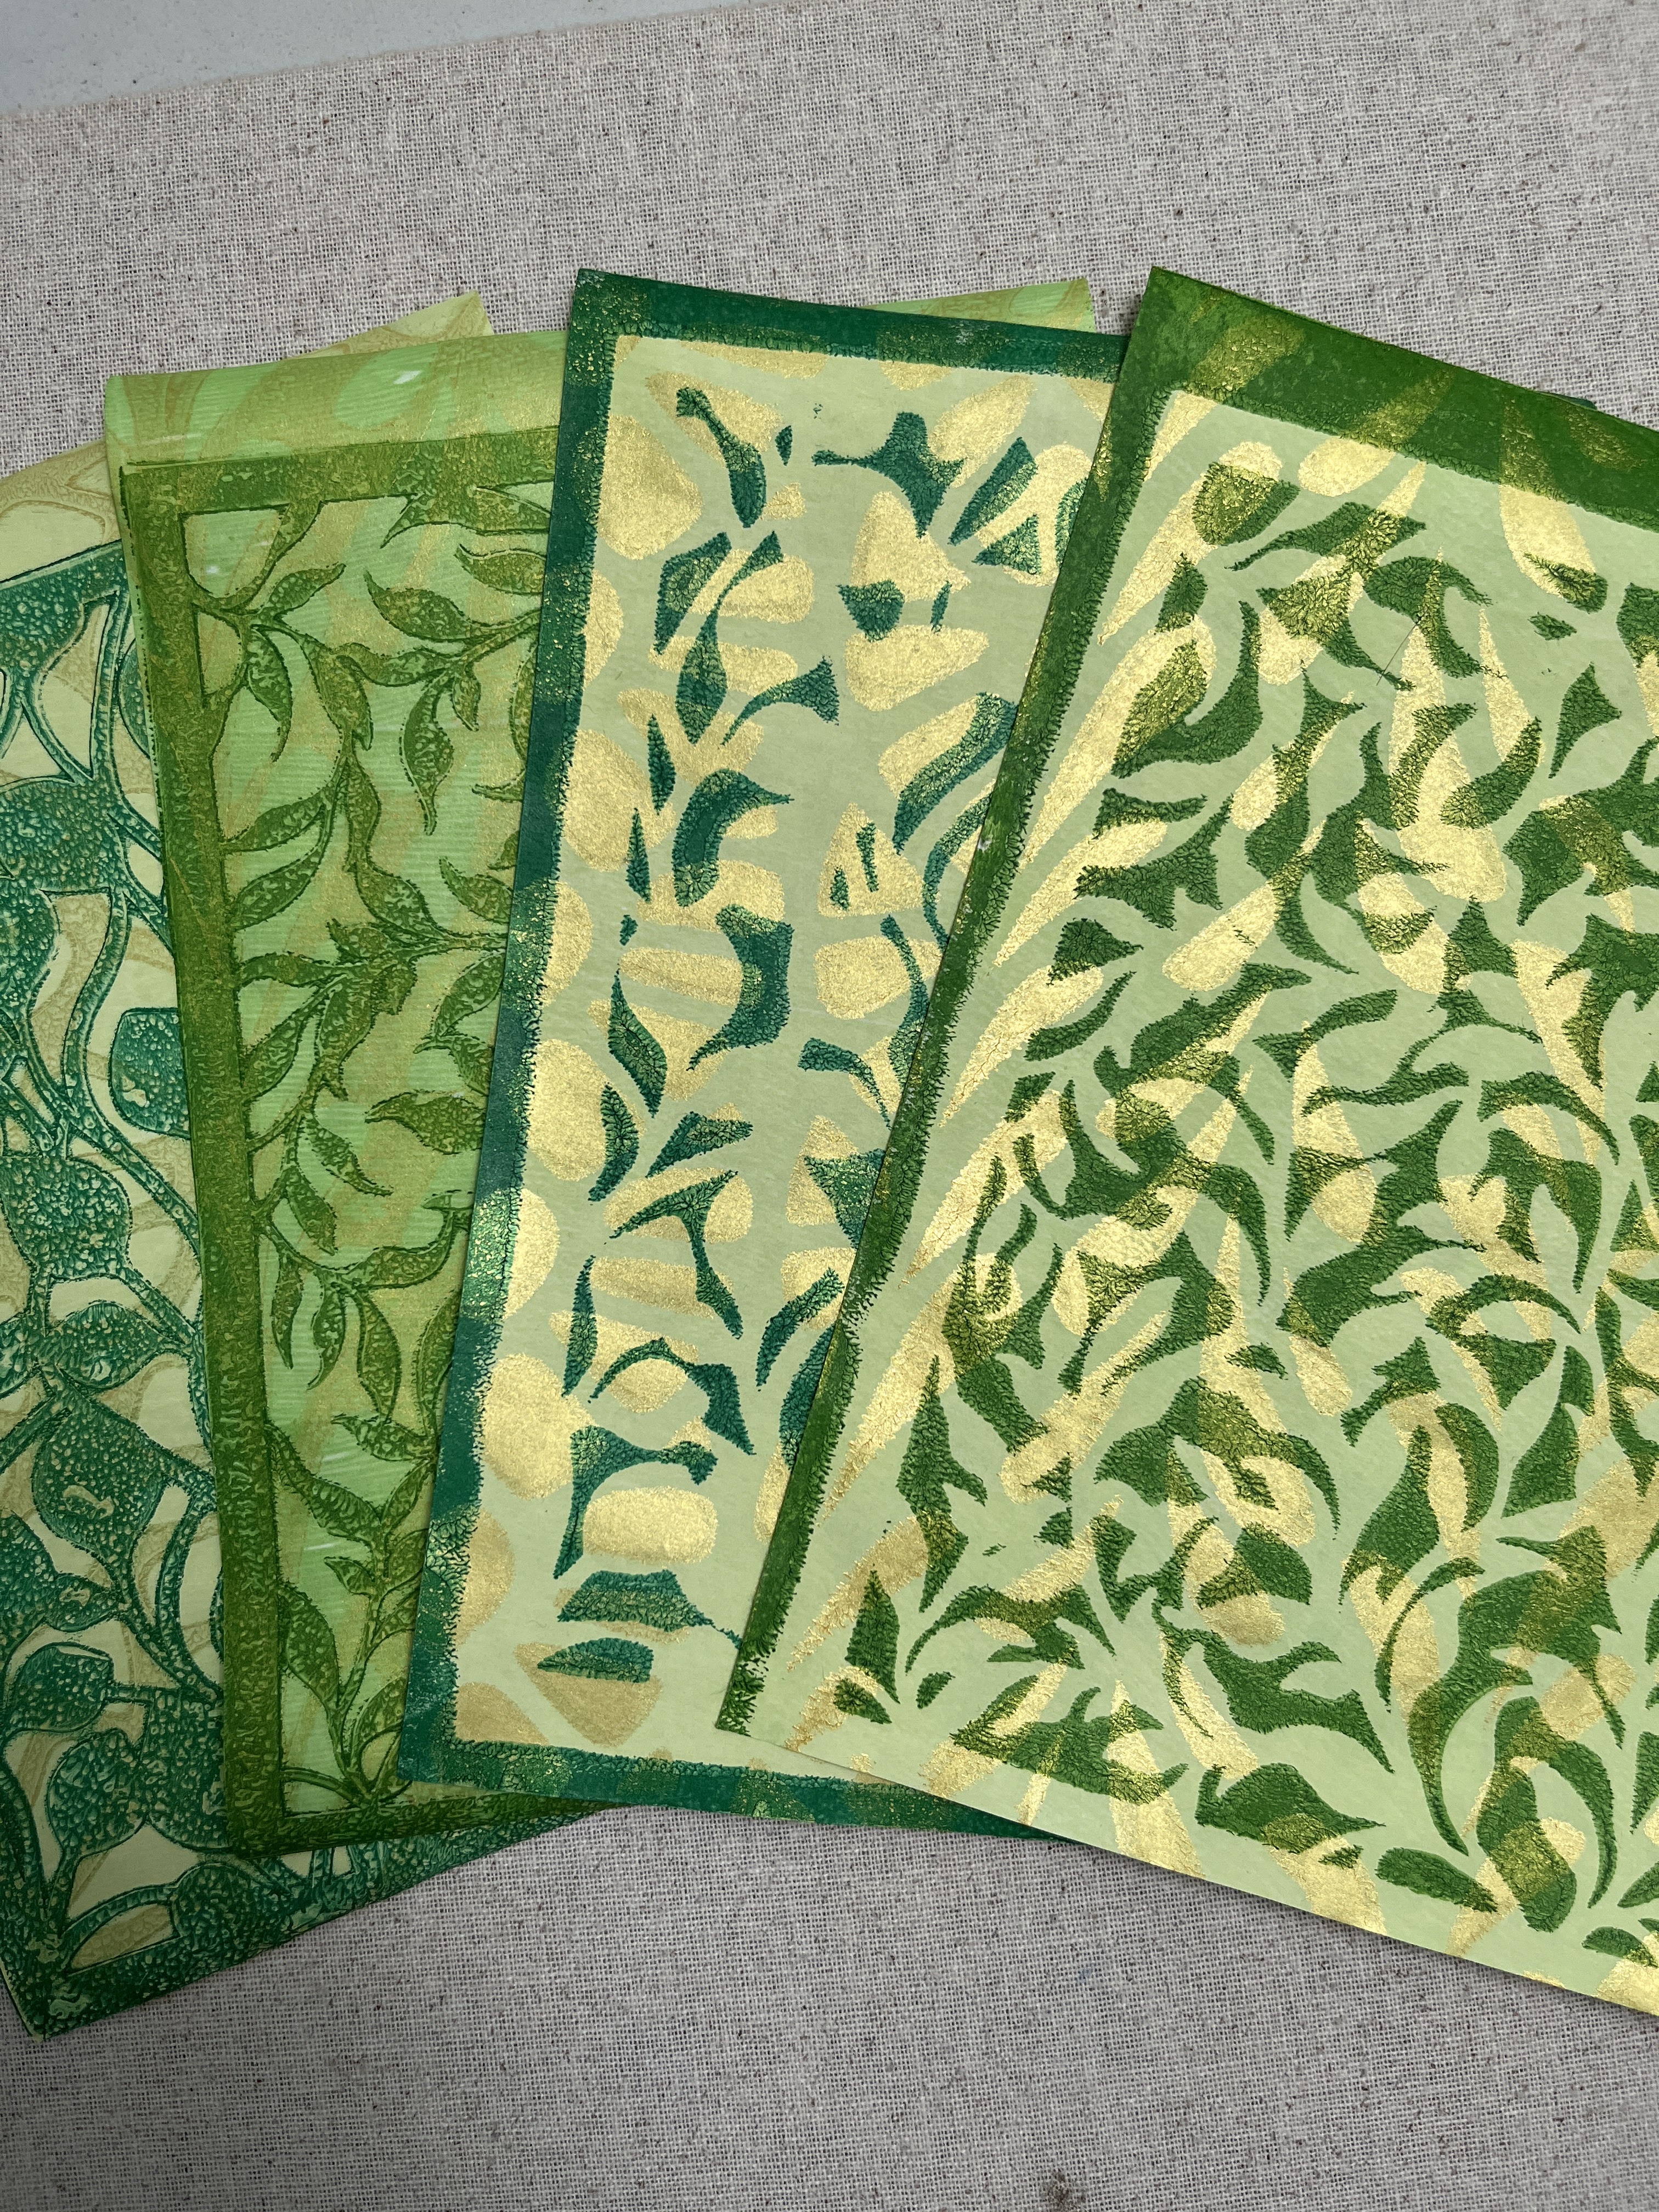
Different block materials I have tried

4. For inks, I started with Speedball water based inks.  I had some that were twenty years old or more and they were still usable, and then I also purchased more.  I also tried the water based printing inks by Blick.  Whatever you buy, you need to but inks specific to linocut or block printing, also called relief printing inks.

Speedball inks, tools and Speedy Carve block

5. Ink rollers.  I started with and still use Speedball rollers.  I prefer the soft, not the hard rollers.

Ink rollers

6. When I first started printing, I did it by hand.  No press.  I also started with a heavy printing paper called Legion Stonehenge.  Not recommended for hand printing.  Light weight papers like rice paper or mulberry paper or anything under 175gsm, would better for hand printing.   Daniel Villa, another linocut artist, recommends Rives BFK 115-175gsm paper, or for a less expensive option, Black Masterprint Paper 75gsm.  A thinner paper requires less pressure to transfer an image, so less wear and tear on your hands.  As far as what to use to press the paper, you can purchase a baren, or use a wooden spoon, a metal spoon, or the glass top from a candle.  

---------------------------------------------------------------------------------------------

I worked in an art supply store for many years when I was in my twenties, which I loved.  I learned so much about the quality of good, expensive art materials.  They are pricy for a reason.  The quality of your art supplies makes a HUGE difference in your finished art piece.  I will say this again because it is soooo important, the quality of your art supplies makes a HUGE difference in your finished art piece.

--------------------------------------------------------------------------------------------

That being said, using the above mentioned supplies were good for me to begin with.  But I could not get the quality that I wanted from my finished prints.  I'm kind of a perfectionist. I knew those materials were not for me.  So I read about what other printmakers were using for inks, paper, and tools, and I bought what I could little by little until I finally know what works best for me now.  Please know, each artist will have tools they like best.  


Here are the tools I now use and recommend: 

1. I like to carve on battleship grey linoleum and Japanese vinyl.  I like the way the printing ink takes to the blocks, and how well the materials print.  I only use the Japanese vinyl when I am doing a multi-colored jigsaw puzzle print.  The vinyl is more expensive, but it stays flat, which is necessary when you are making a puzzle print.

2. I recommend Pfeil and Flexcut carving gouges.  I have only two of the Pfeil gouges, the smallest sizes,  #11 and #12.  Then I have two different sets of the Flexcut tools.  Their SK130 comes with one handle and five interchangeable gouges, and I have their FR804 Micro Palm Set.  Either or both of these sets are wonderful.

Pfeil and Flexcut tools

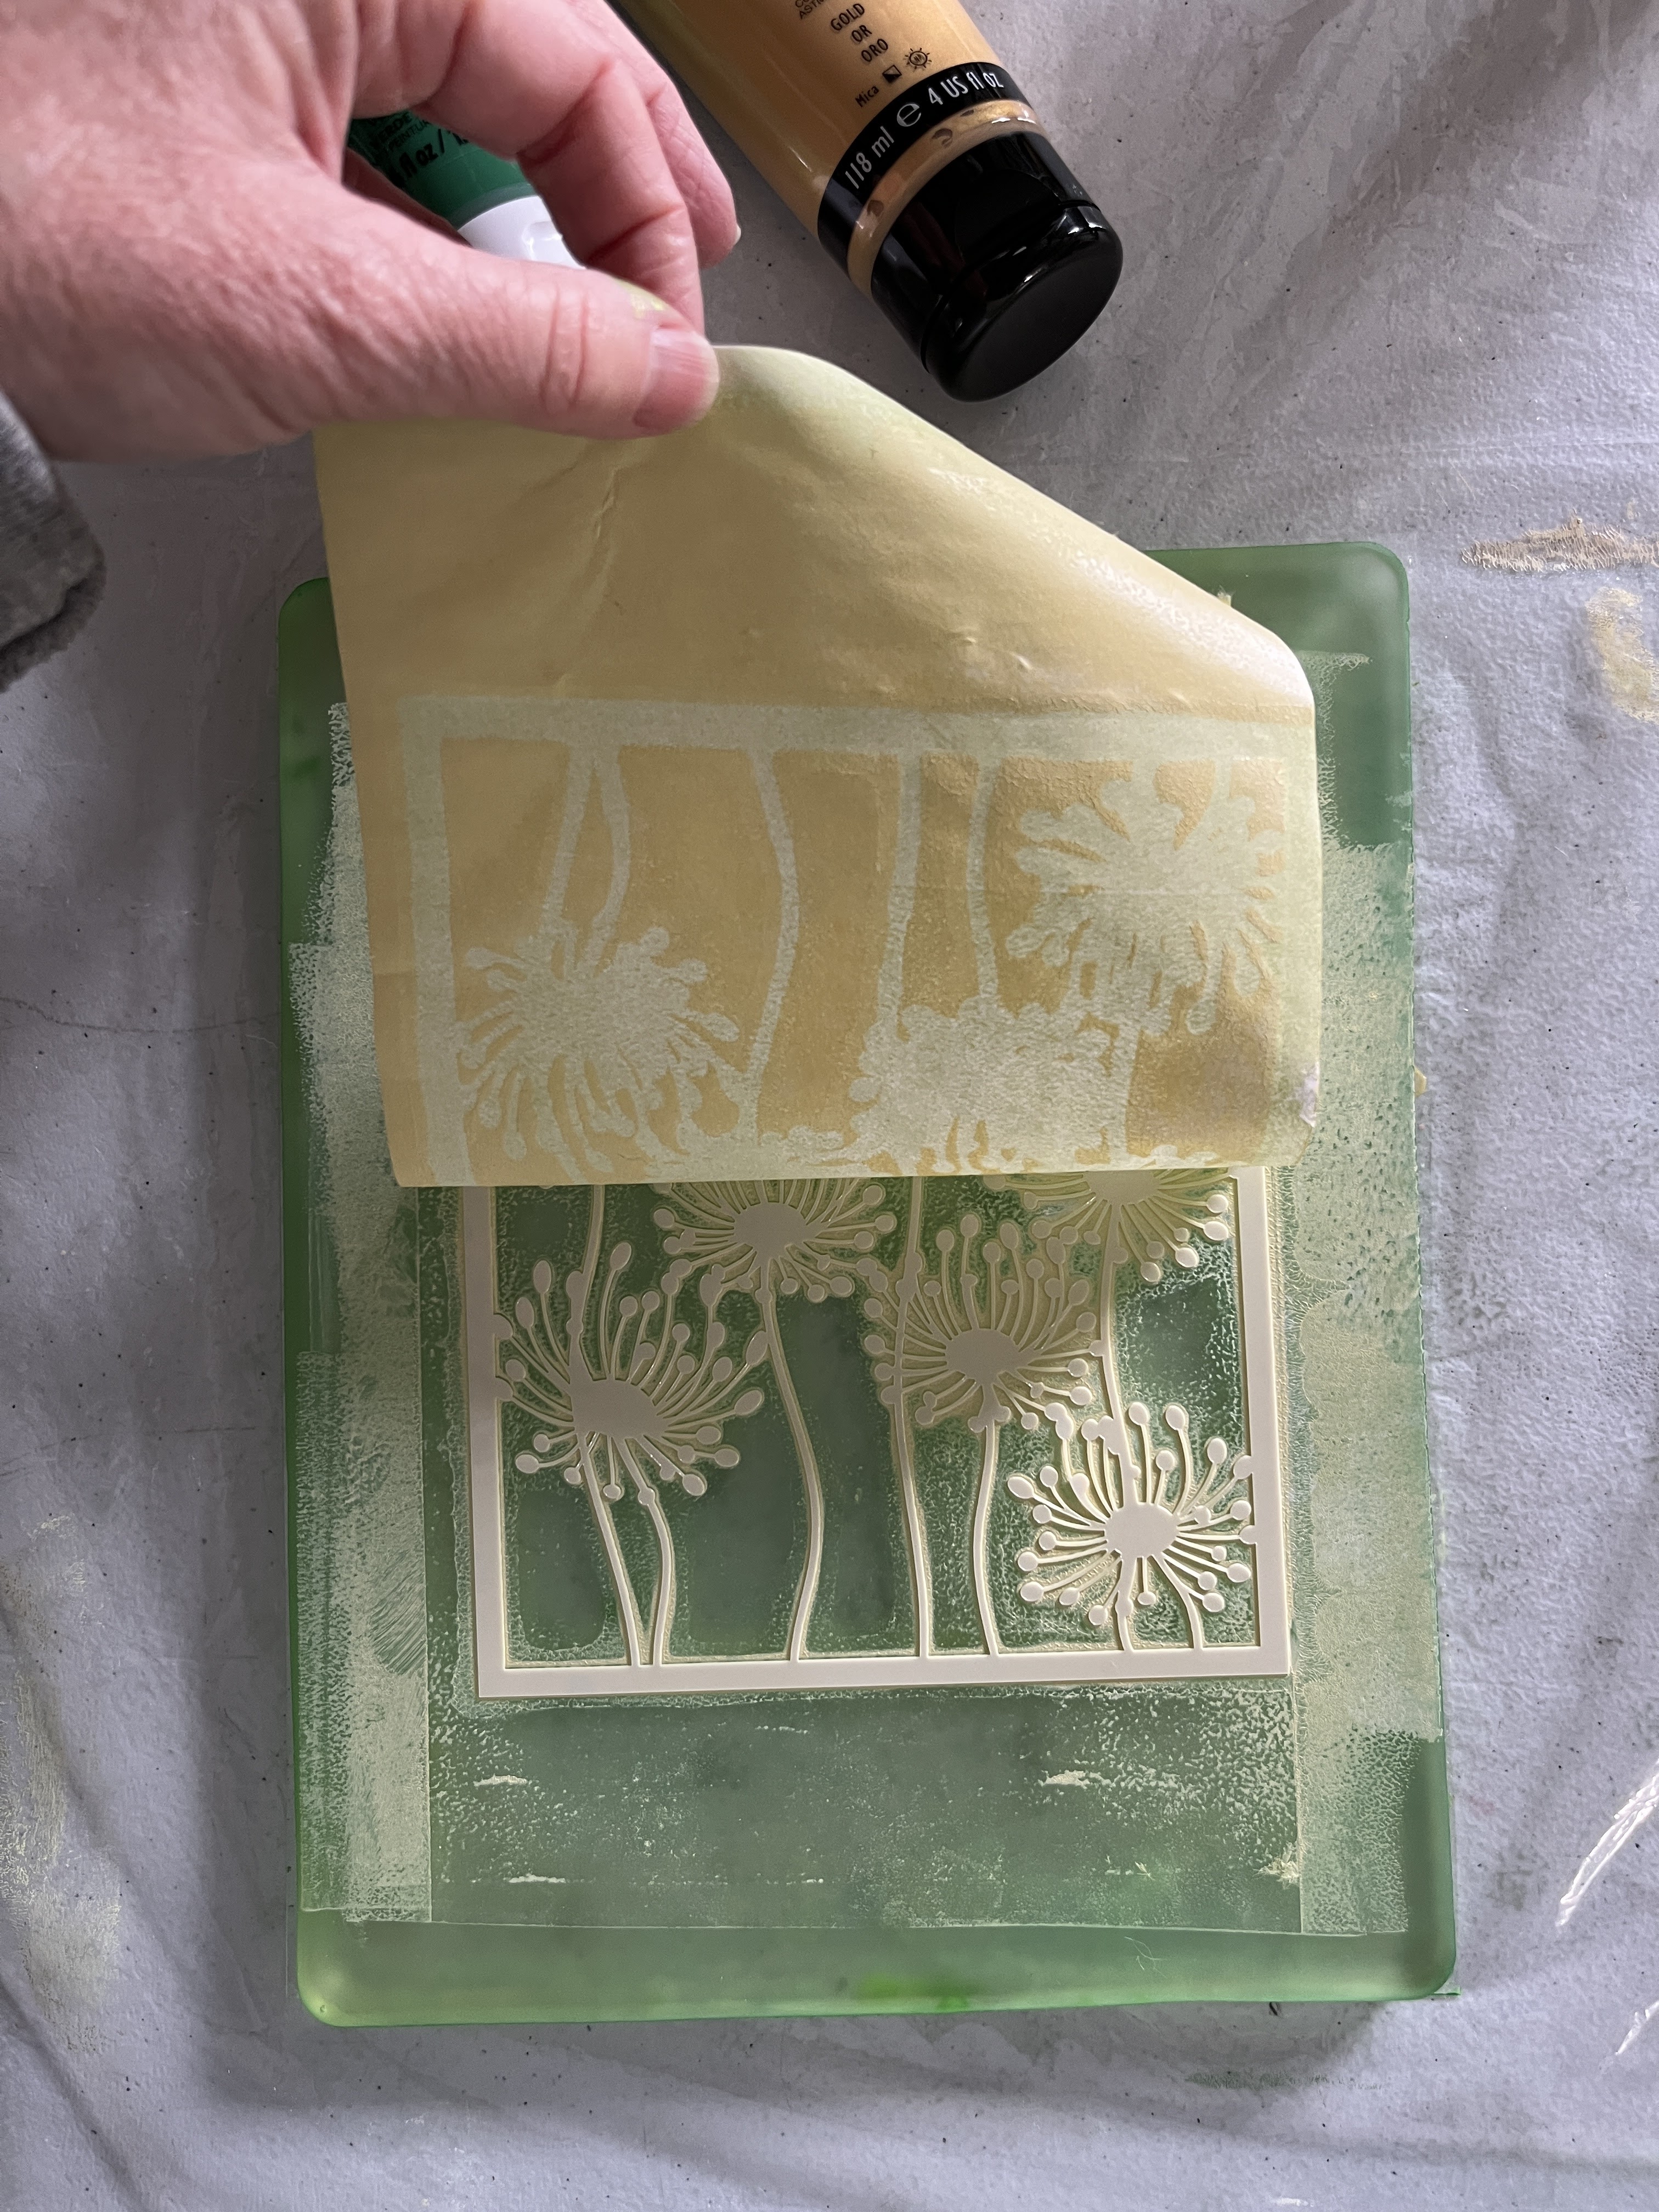
3. My favorite inks by far are made by Cranfield out of the UK, and they are called Caligo Safewash relief inks.  The colors are vibrant and full of pigment, and they clean up easily with soap and water.  The only oil based ink I use is also made by Cranfield, called Cranfield relief inks, and I only use the metallics in that range.  They are gorgeous.

Caligo Safewash inks

4. I started with and still use Speedball soft ink rollers.

5. Paper.  There is so much to choose from.  I was a watercolor painter for twenty years and with watercolor, the heavier the paper, the flatter it will stay.  With printing, it's not the same.  You don't have to worry about that, but I still like a heavy print paper.  I started out with Legion Stonehenge, and I still use it now.  The paper comes in a beautiful range of neutral tones.  It is 260gsm in weight.  

6. A press.  I tried a number of small presses before I purchased my Woodzilla Press.  I love it.  It has worked very well for me.  But I do know of some artists that cannot make it work for them.  I'm really not sure why.  

Using my Woodzilla press

Monday, December 19, 2022

Some Feedback on My Art

I get a lot of feedback on my art prints: on Etsy, Instagram and Facebook, or just through emails.  And I am so touched by many of the messages I have received. I thought that I would share a few of them with you.


"Your art has been so healing.  When I lost my big black cat Tubs, I could not even be in the house until I got my first print.  I put it in a place where he looked at me every day.  We also got one for another lovely black kitty that we lost to a car driving at the speed of light.  The third print is for my current black rescue kitty.  My daughter's black kitty is very old.  She has had her since third grade and she is now out of college!  This print will also be a healing space.  So grateful for your art." 

B. MCBRIDE


"Breathtaking. Mary Ann found the very essence of a cat. Like it's soul peeks out from behind the ink. This is absolutely the coolest art. Even more amazing in person!"

 KRISTIN, on Etsy 


"This original print is so gorgeous. I've had my eye on it for a while and finally had to buy it. So glad I did--I smile every time I look at it! MaryAnn is an expert printmaker." 

 SEWNPAPER, on Etsy 


"I wish there were more stars! This is a gift for my mom's birthday and the artist could have used my mom's cat as a model! My mom will love it. She appreciates fine art and will love the attention to detail, the crisp printing, and the feel of the paper. This is definitely heirloom art!"

SARAH, on Etsy 


PURRFECT! Recently my beloved little man Sammy crossed the rainbow bridge and this piece means everything. So beautiful! Thank you!

FORMEW, on Etsy  


It makes me so happy to know that my artwork touches so many people's lives. That is the gift of printmaking. Instead of creating one art piece to share, as with a painting, a printmaker makes an edition of prints so many people can enjoy an art image.  My personal creative mission is to bring more joy and a positive vision into people's lives.  The fact that my artwork reminds so many of their furry loved ones makes me feel like I am accomplishing that goal.  That is very satisfying for me, as an artist. 😊


Wednesday, April 20, 2022

Why Cat Art?

I'm always trying to clarify why I do what I do.  Why do I focus so much on cats in my artwork?  

I recently came across an article that talked about creating a mission or purpose statement, and it had you ask:  what do you do? for whom? and why?  It suggested creating a one sentence statement that included: who, what action, what subject, what audience, and what benefit does your artwork provide.  

This is what I came up with.


"Nestled in My Heart"

I, create handmade linocut art prints, of cats, for cat lovers, to beautify their homes, and remind them of their furry loved family members.

That's it!!  That's my mission statement.

Another reason why I focus on cats is how much I love my own.  Primatologist and anthropologist Jane Goodall, you know the woman who studied wild chimpanzees in Tanzania for years and is now an environmental activist, has said, "You cannot share your life with a dog or cat and not know perfectly well that animals have personalities and minds and feelings." I cannot agree enough.  If you are a cat person like me, you know how different each cat is from the other.  No two have the same personalities.  And I find cats, as well as dogs, just embody love.  My life has become enriched by all the furry companions I now have, and the ones who have graced my life in the past.  


Favorite furry family photo from maybe three years ago.

I have a book that I like called "Steal Like an Artist," and chapter three in that book is, "Write the Book You Want to Read." Because I am a visual artist, I have always interpreted that as "create the art you want to see." I love cats and I love cat art.  I collect cat art by other artists.  My collection is large and growing.  I am ALWAYS looking for new cat art or artists to follow who create cat art. Cats inspire me creatively. So I am creating the art I want to see.  

Hobbs

From the feedback I get from my collectors, there is an emotional connection to my art.  It reminds them of a cat, or cats they have, or of a beloved cat who has passed on.  How truly rewarding it is for me to know that my art is really connecting to people from a heart space. What more could I ask for.

Oreo

I was asked in an interview by Sam Marshall, another printmaker, on Instagram, if I feel stuck having to only create cat art since I have a large following of cat lovers online.  I thought about that question a lot, and I can honestly say, I don't.  I will continue to create art that comes from my heart. That's where my kitties reside.

"Window in My Heart"


Framing Your Art Print

When I was in my thirties, I worked as a framer in an art shop.  I learned a lot about the proper materials to use if you want an art print to last for many years with the least amount of aging as possible.  By aging I mean fading and yellowing, or in damp climates, getting mold. 

The paper a print is printed on is important.  For longevity, you want an art print to be printed on 100% cotton paper, also called acid free or rag paper.  Acid is what causes a paper to yellow and age.  Almost all of my prints are printed on Stonehenge, a beautiful thick acid free printing paper.  Any other paper I have printed on is also acid free.  I am very aware and do not want my paper to looked aged.


"Mandala"

There are a few things to consider when making your choices for framing.  For works on paper, glass is a must to keep a piece clean and scratch free.  

Here are your choices of glass:

1. Regular glass is clear and inexpensive.  It is what you find if you buy a ready made frame.  The good thing about regular glass is it is clear and shows an artwork beautifully.  The downside is that it shows light reflection if your art is across from a window or near a light.  It is also not UV protective, meaning your artwork will fade over years.


"Cat Nap'" with regular glass

2. Non-glare glass has a sort of frosted look to the glass,  It does cut down glare and light reflection, but it also takes away from the color and clarity of an artwork.  It is also more expensive than regular glass, and is also not UV protective.

3. The highest quality of picture framing glass available is conservation or museum glass.  It protects artwork the best from fading because it is generally 99% UV protective.  There are a few different types of conservation glass available, but in general, this glass is the most expensive, because of it's UV protective qualities.  

4. And then there is plexiglass.  Plexiglass or acrylic is lightweight and shatter proof, two good qualities, but it scratches easily.  You need to use a cleaner specifically for plastics and a soft cloth to clean it.  You can find UV protective plexiglass as well as regular plexiglass.  Personally, I do not like using plexiglass, but it is better for shipping artwork because it is lightweight and shatter resistant.


Mat or no mat?

If you live in a dry climate or the your home or room where you are going to hang your art is dry, not damp, you can "float" the art print on a larger piece of mat board backing, and have the print up against the glass.  "Floating" means taping the art print with acid free framing tape, onto a mat board that is larger in size than the print, leaving a border of mat board showing around the print image. I like to frame like this if possible because I love showing the papers ruffly edge, called a deckle.  I would recommend using acid free mat board that you can buy at a frame shop if you want to protect the art from aging.  Acid free mat boards come in lots of colors as well as shades of white.


"Center of the Universe," floated on a mat background.

If the climate or the room where you are going to hang your new print is damp, I would recommend having a mat cut.  The mat keeps the artwork off of the glass, which helps protect it from any moisture that might get inside the frame.  Acid free mat board is best to use because it will help keep your artwork from turning yellow and aging.


"Stretch" with a cut mat border.

Framing choice?

That is really up to you. Metal or wood is a personal choice.  Neither is better than the other in terms of protecting the art.  I am really boring when it comes to framing.  Because I also ran an art gallery for ten years, I prefer a very clean simple look; white or off white acid free mat board and a black frame. I choose black frames because almost all of my prints have black in them.


Where should I hang my new artwork?


"Nestled in My Heart"


If you would like to have your artwork looking it's best for many years to come, the best conditions for art on paper are a dry, warm environment, and not exposed to direct sunlight or indoor light.  So do not hang you art piece across from a window, or next or a lamp or bright light.  And if you choose acid free framing materials, you are doing the best you can to preserve you artwork.


I hope this is helpful information for you.  If you have any questions, please send me an email at maryann@maryanntestagrossa.com and I would be happy to answer it.